How to Create Interactive Walkthroughs Without Code
Interactive walkthroughs are the backbone of any digital adoption program - and the best part is that you do not need to write a single line of code to create them. Modern digital adoption platforms provide visual, WYSIWYG editors that let anyone build sophisticated, multi-step guidance in minutes.
What Is an Interactive Walkthrough?
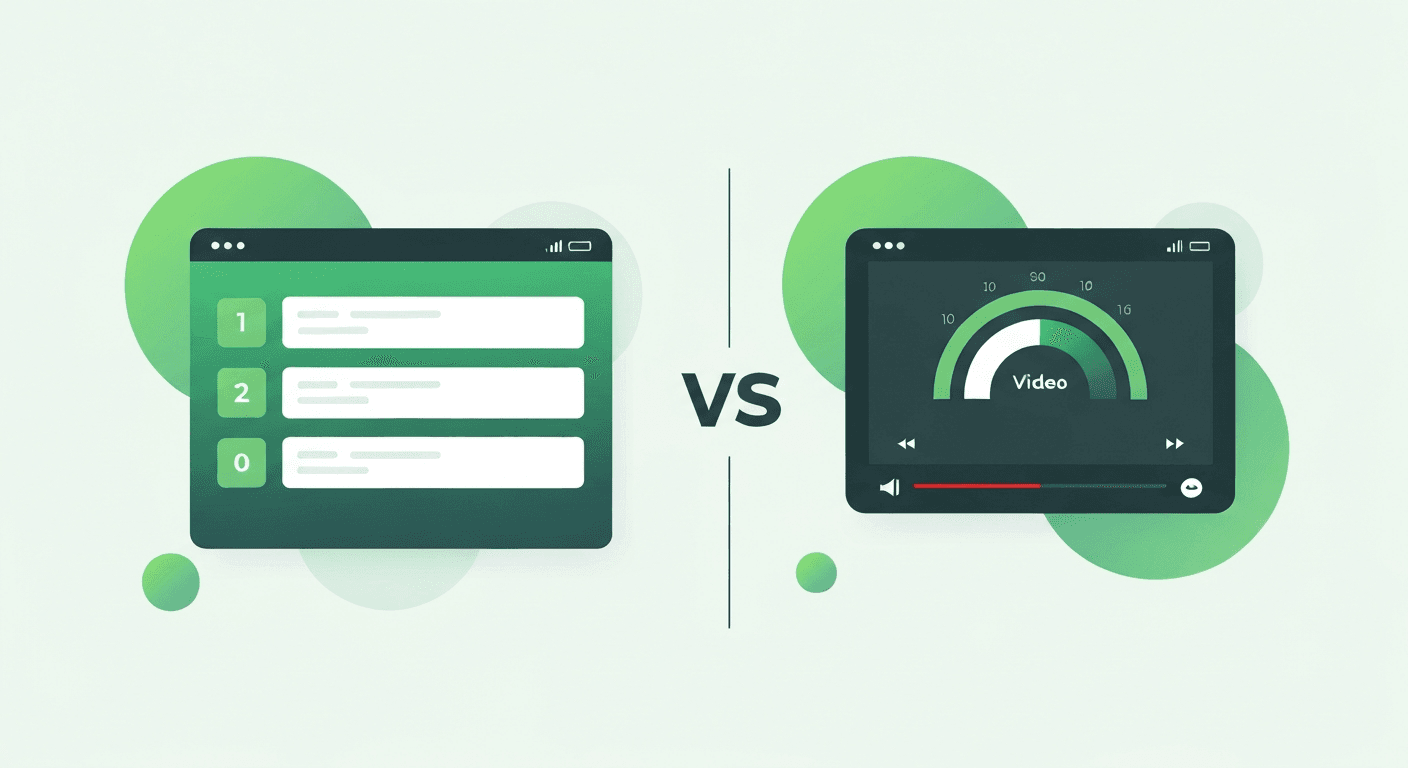
An interactive walkthrough is a guided, step-by-step overlay that appears inside a web application or desktop software. Unlike static help documentation or video tutorials, walkthroughs are:
- Contextual: They appear on the exact screen where the user needs help
- Interactive: Users click buttons, fill fields, and navigate as they learn
- Progressive: Each step builds on the previous one, guiding users through complex processes
- Measurable: Every step is tracked, so you know where users succeed or abandon
Step-by-Step: Creating Your First Walkthrough
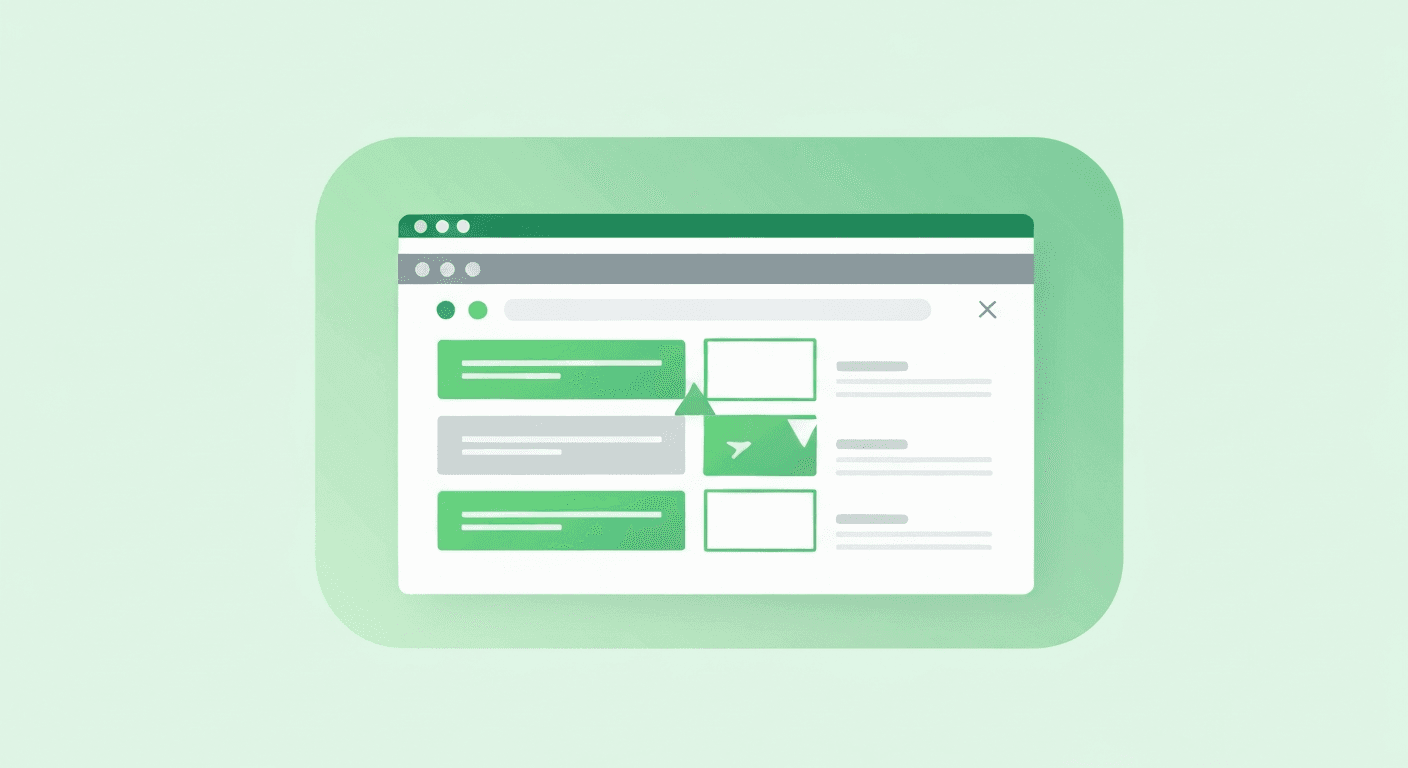
- Open the visual editor: Navigate to the page where the walkthrough should begin and activate the editor overlay
- Select the target element: Click on the UI element you want to highlight (a button, field, menu item, etc.)
- Add your instruction: Write the text tooltip, or record audio narration that explains what to do
- Set the trigger: Define when this step completes - on click, on form fill, on page navigation, or after a timer
- Add the next step: Repeat for each step in the process
- Configure targeting: Set which user segments see this walkthrough (by role, permission, first-time visitor, etc.)
- Preview and test: Walk through the entire flow yourself before publishing
- Publish: Make the walkthrough live with one click
Types of Guidance You Can Create
| Type | Best For | Complexity |
|---|---|---|
| Step-by-step walkthrough | Multi-step processes (forms, wizards, workflows) | Medium |
| Single tooltip | Explaining a new button or feature | Low |
| Audio-guided tour | First-time user orientation | Medium |
| Form fill assistant | Complex forms with many fields | High |
| Spotlight announcement | Drawing attention to new features or changes | Low |
| Restrictive walkthrough | Compliance-critical processes that must be followed exactly | High |
Best Practices for Effective Walkthroughs
Keep Steps Short and Focused
Each step should explain one action. If you find yourself writing more than two sentences per step, break it into multiple steps.
Use Audio for Complex Processes
For workflows with more than 5 steps, adding voice narration increases completion rates by 25-40%. A real human voice creates trust and reduces cognitive load.
Segment by User Role
An administrator and a basic user see different interfaces and have different needs. Build separate walkthrough variants for each major role.
Test on Real Users Before Publishing
What seems clear to the content creator may confuse a first-time user. Pilot every walkthrough with 5-10 real users and iterate based on their feedback.
Measure and Optimize
Track completion rates for every walkthrough. If a step has a high abandonment rate, revise the instruction, change the trigger timing, or split it into simpler sub-steps.
Bottom line: Creating interactive walkthroughs requires zero coding skill and minimal time investment. The visual editor approach democratizes content creation, enabling subject-matter experts - not just developers - to build and maintain adoption content.